


When working in Ceros, we always recommend paying attention to the organization and structure within your Layers Panel. Keeping your layers organized will help you work more efficiently in the platform, improve team collaboration efforts on experiences, and make it easier to templatize your content moving forward.
Before we cover organizing the Layers Panel, let’s make sure we understand how the hierarchy of layers works.
Hierarchy
When it comes to layer hierarchy, the higher up layers are in the Layers Panel, the “closer” to you they will be in the experience. So hypothetically, your background will be a lower layer, and then each other layer in that section will be stacked on top of that in your Layers Panel. You can reorder your layers by dragging them up and down in the Layers Panel, or by right-clicking and selecting Move Forward/Backward or Move to Front/Move to Back.
It’s important to remember that the order of the layers in your Layers Panel does matter, and will have a direct impact on how your experience is displayed, and how users will be able to interact with your experience. For example, take a look at this button designed in the Studio:
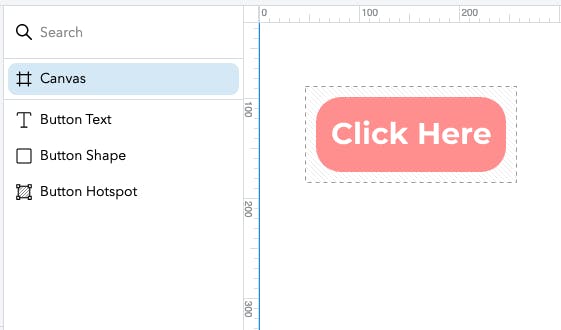
Hotspots make areas on the canvas interactive. In this example, a Hotspot with an On Click Interaction has been created so that users can click on this button. However, because the Button Hotspot is at the bottom of the Layers Panel hierarchy, it will be covered up by the Button Shape and Button Text layers, and users won’t be able to click on the button, as the click interaction is applied to the Hotspot that's covered.
The simple solution is to move the hotspot to the top of the Layers Panel:
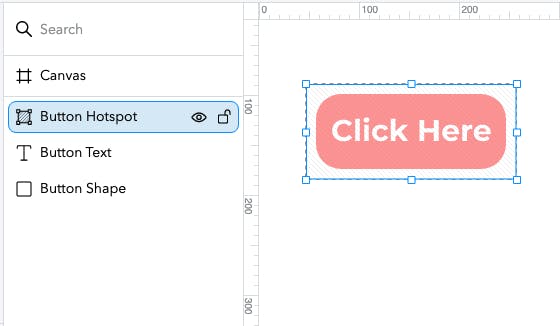
For this reason, we generally recommend moving hotspots to the top of your Layers Panel, or at least to the top of the Folder or Group that they are placed in.
These rules also apply to Folders and Groups. The order that Folders and Groups are placed within the Layers Panel is what determines what will be closest to the front of the Canvas when the experience is displayed. This brings us to our best practices on Layers Panel organization.
Organization
There are two different components in your Layers Panel that you can use for organization — Folders and Groups. Essentially, Folders function solely as a container in the layers panel to organize layers, and Groups actually “group” objects together, so not only organizing them in your layers panel but also affecting the way they act on the canvas. For a more detailed look at Folders vs Groups see this Educate article. Note: if you’re creating accessible content, you’ll always want to use groups to organize your content.
Whether you choose to organize with folders or by grouping, we typically recommend organizing by section. So for example, if you have a long scrolling piece, your Layers Panel could look like this:
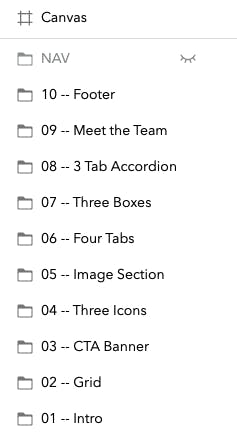
Whether you are making edits to existing content or building out new interactions to target those layers, keeping your layers organized like this will make it easier to find what you’re looking for when building.
Naming Conventions
We also recommend establishing naming conventions for your team to help keep your layers panel as organized as possible across all of your Ceros experiences. That way, no matter who on your team designs a piece, anyone can jump in and quickly understand the layers panel and understand the build. Keeping naming conventions consistent across your account will ensure that you are able to easily Search within your layers panel to find whatever it is that you’re looking for. If you’re interested in how our team here at Ceros uses naming conventions, be sure to check out this article.