


You can upload your Ceros content into the Showpad library so that your teams can access and view your experiences both online and offline. This article will detail the two ways that you can import Ceros content into Showpad.
Online Viewing
Uploading a Ceros URL
If you’re uploading experiences for online viewing, you’ll be able to use the published URL of your experience. If you want to view your content offline in Showpad, you’ll need to first export the experiences from the Ceros Admin. Let’s start by diving into the workflow for uploading content for online viewing.
First, navigate over to the Showpad website and log into your account.
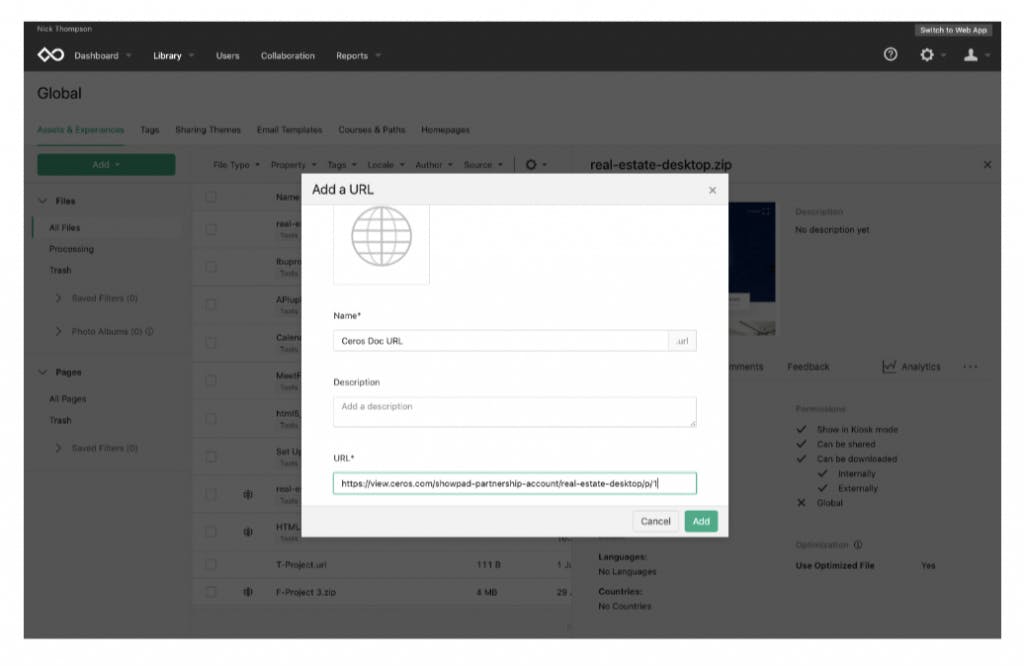
In your Showpad library, select the ‘Add’ menu tab and choose ‘Add a URL.’
Name your URL asset and add the published Ceros URL into the URL box.
You can choose to add a document thumbnail here.
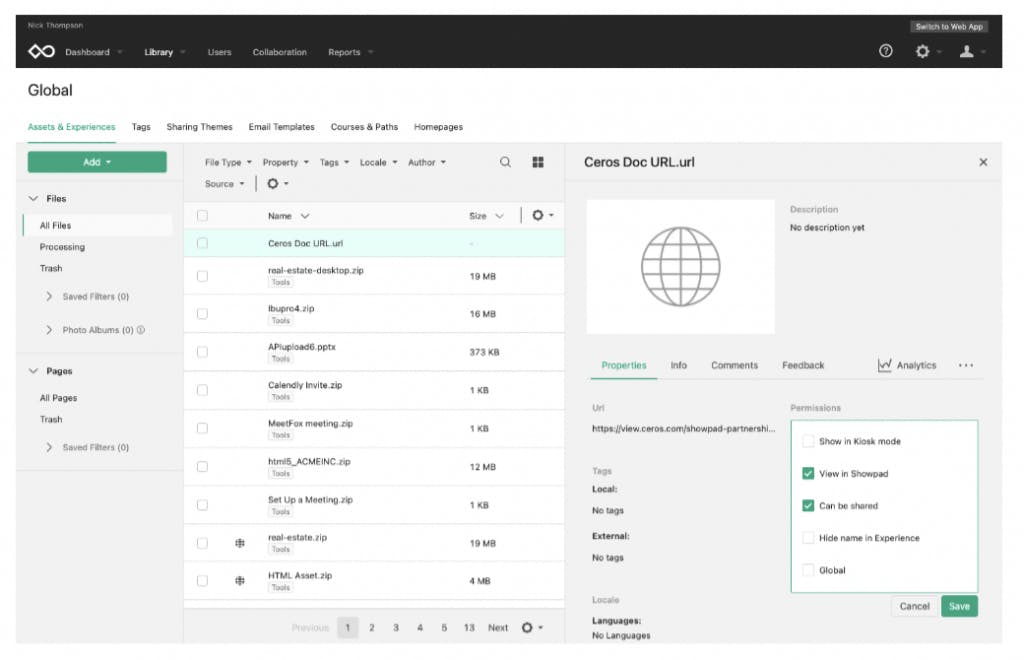
Now, you can view your Ceros experience inside the Showpad library by selecting the ‘View in Showpad’ permission box and clicking save.
Offline Viewing
Uploading an exported Ceros experience
If you are using an exported experience to view the content offline, you’ll need to convert your exported tar.gz file into a Zip file. Follow the steps below to prep your file and upload it into Showpad.
First, prepare your file for offline access
In the Ceros Admin, navigate to the experience you’d like to export.
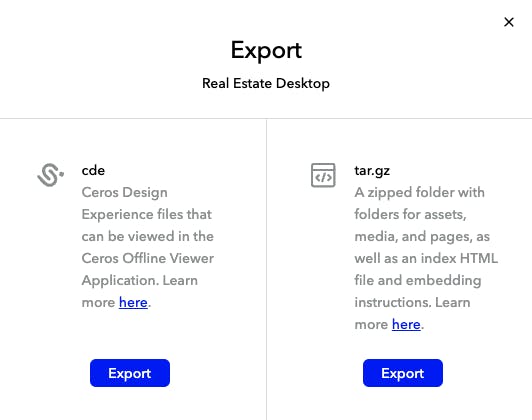
Click on the Options Menu (...) in the bottom right corner of your experience tile. In the drop down menu click Export. Here, be sure to export your experience as a tar.gz file.
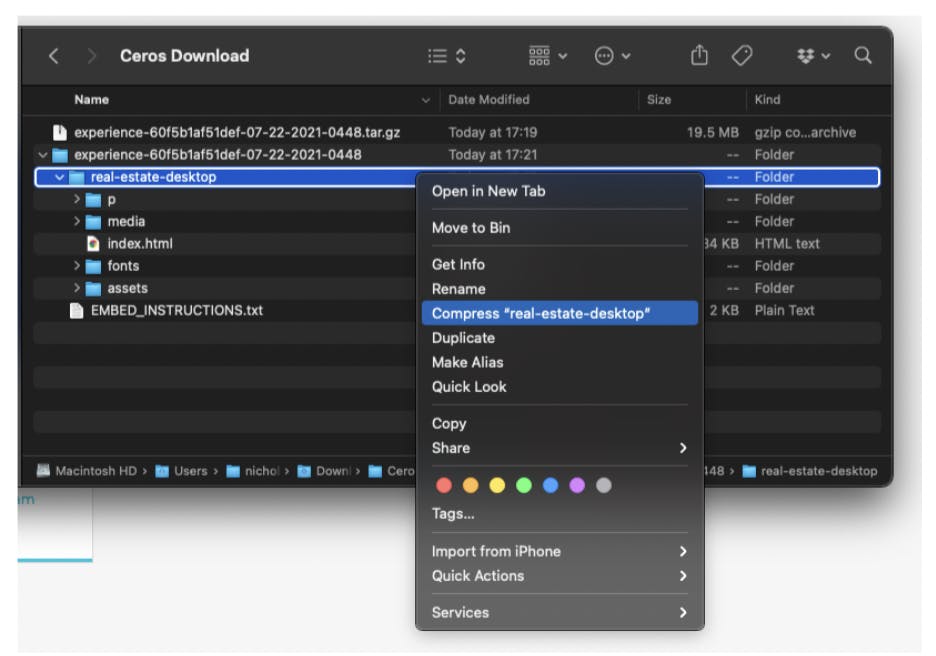
After downloading the exported file, navigate to the file saved on your computer
Right-click on the folder that contains the index.html file and select ‘Compress (folder name)’ to create a standard zip file. This will create a zip file that has the index.html file in the root. Now the file is ready to be uploaded into Showpad.
Please note: if you are using a PC, you will have to unzip the tar.gz file through Winzip or Winrar to then create a standard zip file.
Next, import the Zip File into the Showpad Library
Navigate to your Showpad library
Select the ‘Add’ menu tab and choose ‘Upload Files’
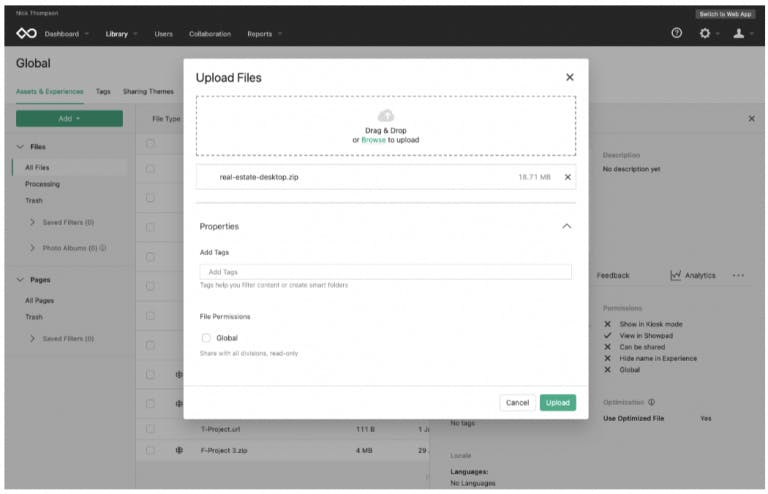
Either Drag and drop the zip file or ‘‘Browse’ to find the file on your desktop, then select ‘Upload’ to add your file to the Showpad library.
Please note: While the Showpad platform allows users to view content offline, anything requiring internet connection in your experience will not function properly. This includes but is not limited to: Google Fonts, Embedded Objects (YouTube videos, Google Maps, etc.), or Content accessed via our Integrations (Marketo, Hubspot, Chartblocks, etc.)
Once you’ve successfully uploaded your experience into the Showpad platform, you can choose who has access to view the experience in your Showpad platform settings (public vs. private). If changes are made to your experience after uploading to Showpad, the edits will not be updated live across this platform. If you want to update the experience within Showpad you will need to re-upload the updated tar.gz file or URL.