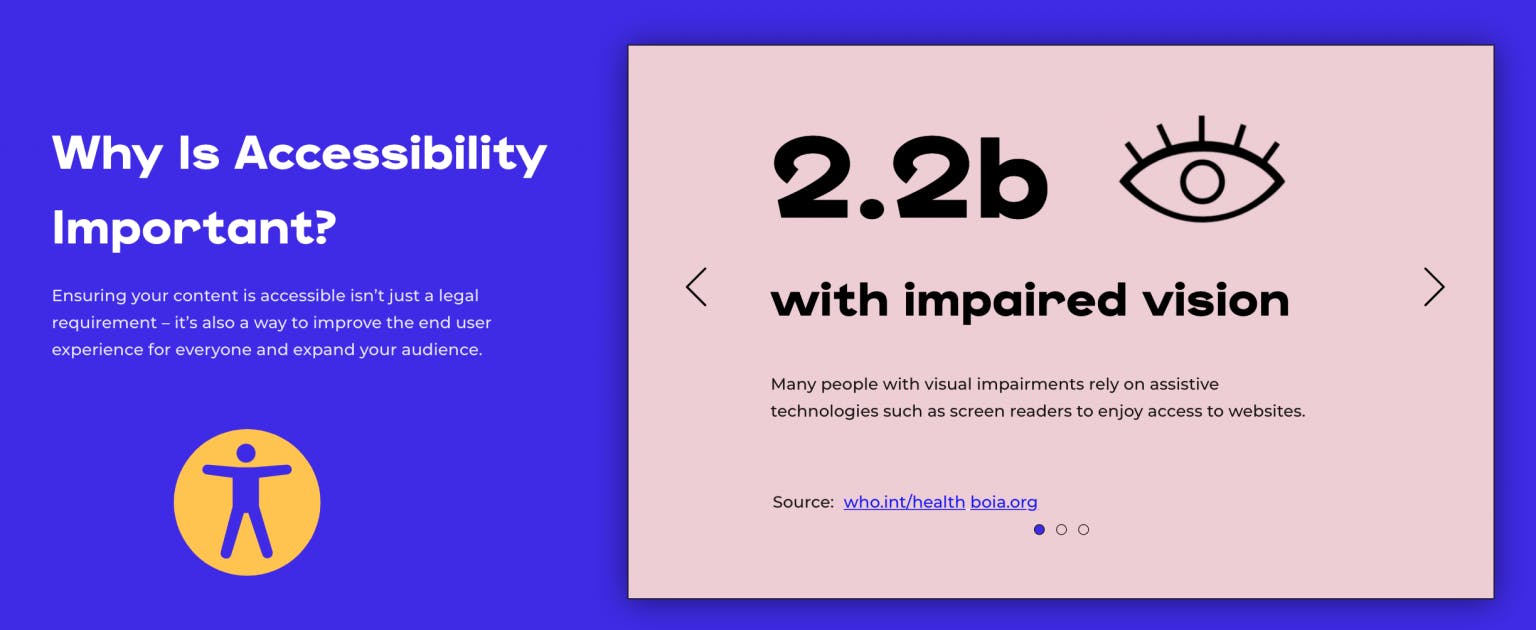
Header tags can be added to all of the text boxes in your experience to help communicate to your user the hierarchy of the text in the experience. When you tag your text boxes, it gives screen readers the ability to dictate to your user whether the text box is a page title, header, subhead, or body copy.
When a screen reader reads out a text box, it will first read out the tag applied. So if in the screenshot below, the text that reads Why is Accessibility Important is tagged as H1, the screen reader will read “H1: Why is Accessibility Important.”

To apply header tags to your text boxes, just select the text box you’d like to tag, navigate to the Typography section of your design tab, and under “HTML Element Tag,” select the tag that applies to that text box.

You can choose from H1, H2, H3, H4, H5, H6, and Paragraph. Typically, we see users apply:
H1 to page titles
H2 to major headlines
H3 to subheads
Paragraph to body copy
This of course will vary based on the content you are creating and how your team typically tags your content for accessibility and search engine optimization. Keep in mind that Paragraph will be your default tag, and while there are H1-H6, you don’t need to have 6 different types of headers in your content—just tag the text boxes as appropriate.


